Saturday 30 April 2011

Harley Sportster Rear Brake Pad Replacement


This video is a guide on how to replace your rear brake pads 
and remove and clean the rear caliper.

Wednesday 20 April 2011

DRuNKeN KiDS + HD's = £££'s

After everything I've done to make this into the WLA bike I envisioned all it took was a few drunken kids muckin about to add yet a few more issues to what was a "Finished" project. After arriving home and parking the bike up on the drive and proceeded to have dinner and watch a DVD with Nic.

Suddenly I hear a crash sound with shouting from outside.

Something told me I wasn't going to be happy with what I was about to find.


A painful find!!

Ho Hum! I recently had the bike repainted as their was slight peeling on the fenders so I just got the tank repainted with the lot. The only really SAD bit is the work I put in with the decals has now been for naught!! So I'm either going to redo them or do something different. I haven't decided yet but I'm sure I'll post something once I have.

The Perfect Speedo

Motogadget Tiny Speedometer

After much toil and consideration I decided to go with the Motogadget Tiny Speedster.
It was quite a difficult choice not because of the obvious beautiful look of the device, but simply the price. £400 for a speedo was a big ask but the fact that it was SO small and look simply beautiful
finally swung it for me. The other choice was Dikota Digital but I couldn't find a speedo that looked old school enough in their catalogue.


In the end it was the right decision although not without a few ups and downs.

Because I ride my bike every day in all kinds of weather the M-Can which connects the speedo
to the HD cabling died due to moisture getting into the unit.

However, I sent it back to Germany and Motogadget tested all the parts and replaced
the M-Can under warranty. Fantastic.

But that isn't the end of the story.

When I received the parts back and installed it the clock function on the speedo
wasn't working correctly. It started losing about 1 minute per hour.
I was told the speedo had been updated with new software and this could be the only 
reason for the corruption.

I emailed Motogadget and received quite bad customer service from a certain
employee so I decided to give them a call.

I spoke to Garret and he resolved the situation immediately. He is sending out a brand new speedo to replace the faulty one and freepost packaging for the faulty one. All under warranty.

Now THAT's customer service!!


TFT 2010 - 3012 miles on a Harley Davidson Sportster

TFT 2010 - (The France Trip 2010)

3012 miles on a Sporster, 2 up!
Oh yes, it can be done!!!

My customizing came to a halt when we decided to do a 3 week trip around France.
I say a halt, but not really!!

Work on preparing the bike and getting all the equipment and items needed was only starting!!

Items:

Saddle Bags
Rear Light relocation kit
Windscreen
Rear rack for baggage
Helmet lock
rack bags
Tom Tom Rider and fitting equipment
New Helmets
Scala rider headsets

Here's some pics of the bike being transformed fom a single seater to a Touring king!!


Relocation of the rear lights and rear rack fitted.


 Saddlebags fitted


 Windscreen fitted. This turned out to be the best decision ever!
 

 READY FOR THE ROAD!!


All packed.


After about 20 miles in the saddle we realised we were far too heavy and the
low shocks were now letting us down. We ended up damaging the cover holding the 
power commander and luckily didn't cause any other major damage.

A little gaffer tape and we were all set! 


 I placed the power commander in a ziplock bag to protect it from the rain and 
placed it in the sadllebag until we got back to the UK to have a new holder installed.


 The next 3 weeks were amazing! A trip around all the hotspots of France.
I would definately recommend it.

Ps. To all the HD riders that think you can only tour on a Softail or Tourer, what about
all the guys that went around the world on 500cc bikes in the 70's and 80's???

I SAY:   Man up Biaaatches!! :)))

//////////////////// 


WLA inspired 883 Iron - Phase III


PHASE III

The two remaining things to do, other than the decals, was to fit the 
Crime Scene headlight and replace the speedo. I really didn't like the bulky 
speedo in the middle of the bars.It looks chunky and cumbersome and really 
ruins the clean lines I'm trying to create.
But more research was needed to find the right option.

PAINT!!

Now I love the matt black paint on my bike but the only thing that would really
take this machine back to 1946 would be a vintage set of decals.
I searched everywhere to find them and almost had to concede to have it
hand painted by a Pro but like with all my projects it's not the money I'd have to
pay but the fact I'd lose out on doing it myself!!!

I finally found a fantastic pair of vintage decals on Ebay (Sensing a theme here)
So I did what any mad biker would do... I painted the tank while in situ!!

Tools:
Plastic wrapping to cover the ENTIRE bike!!
Masking tape
Protective mask and goggles (Clearcoat kills apparently!!)
Vintage Decals
Clear coat

And away we go!!!


Once the decals have been correctly stuck to the tank I needed to mask a small
area around the decal so the clear coat could stick to both the decal and the tank


Now to protect the bike from the clear coat.


 Protection please!! :))


30 mins later and after a few coats...


The sweet taste of Victory!!


////////////////

WLA inspired 883 Iron - Phase II

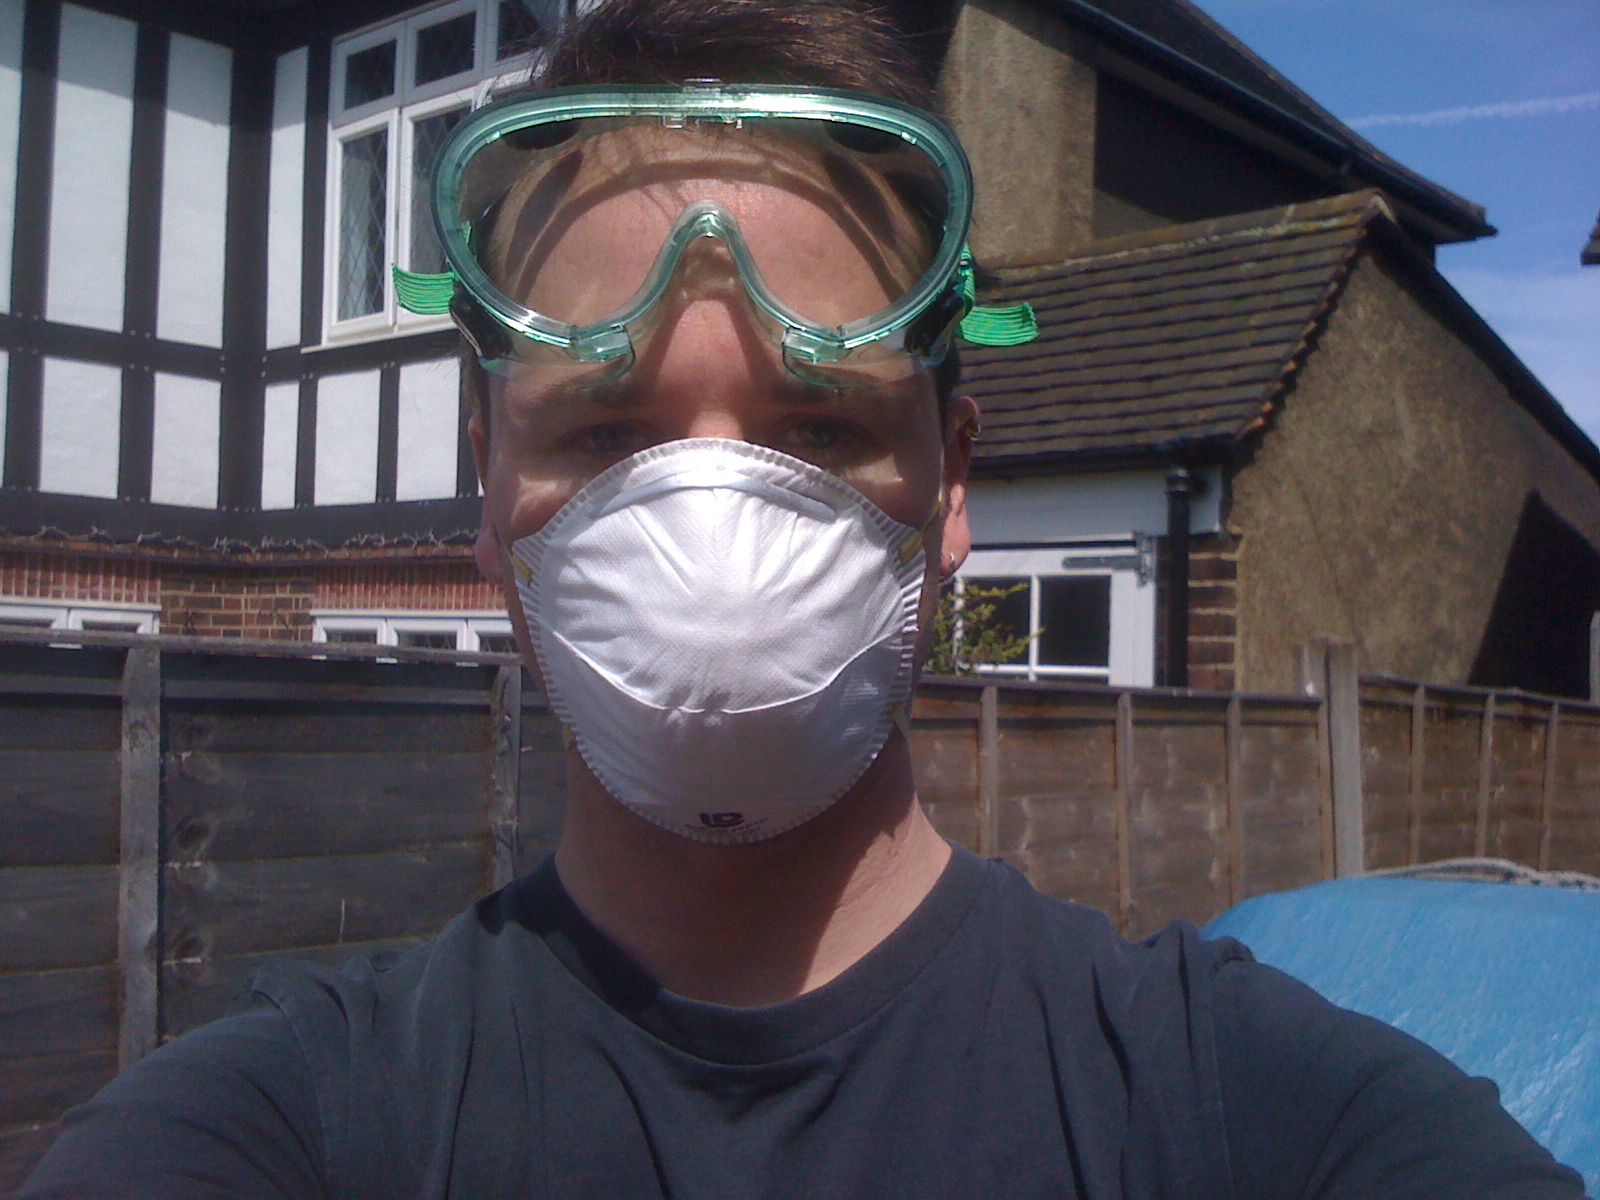
So now that the comfort issue had been resolved I focused on the cosmetic.

First a new matching headlight and air cleaning from Crimescene Choppers!!
The only decision to make would be to go matt black or gloss when powder coating it.


The headlight position had to be changed to match the WLA style from the centre of the triple trees on the sportster to above the topyoke. I struggled for ages to find a bracket that would fit 
between the forks and finally found a chrome bracket that was slightly long on both sides.
But with a little help from my angle grinding friend the issue has been quite nicely remedied!

A few weeks later and the CS headlight and cleaner had returned looking FANTASTIC!!
The brass was a little bright but they'd dull perfectly in time. I also needed to get a bracket to
fit the air cleaner which I purchased off Ebay from the States. It was pretty cheap @ £80 for
the chrome version. i decided to go for chrome as the bike was now starting to get very dark and needed just a few subtle chrome and brass highlights!


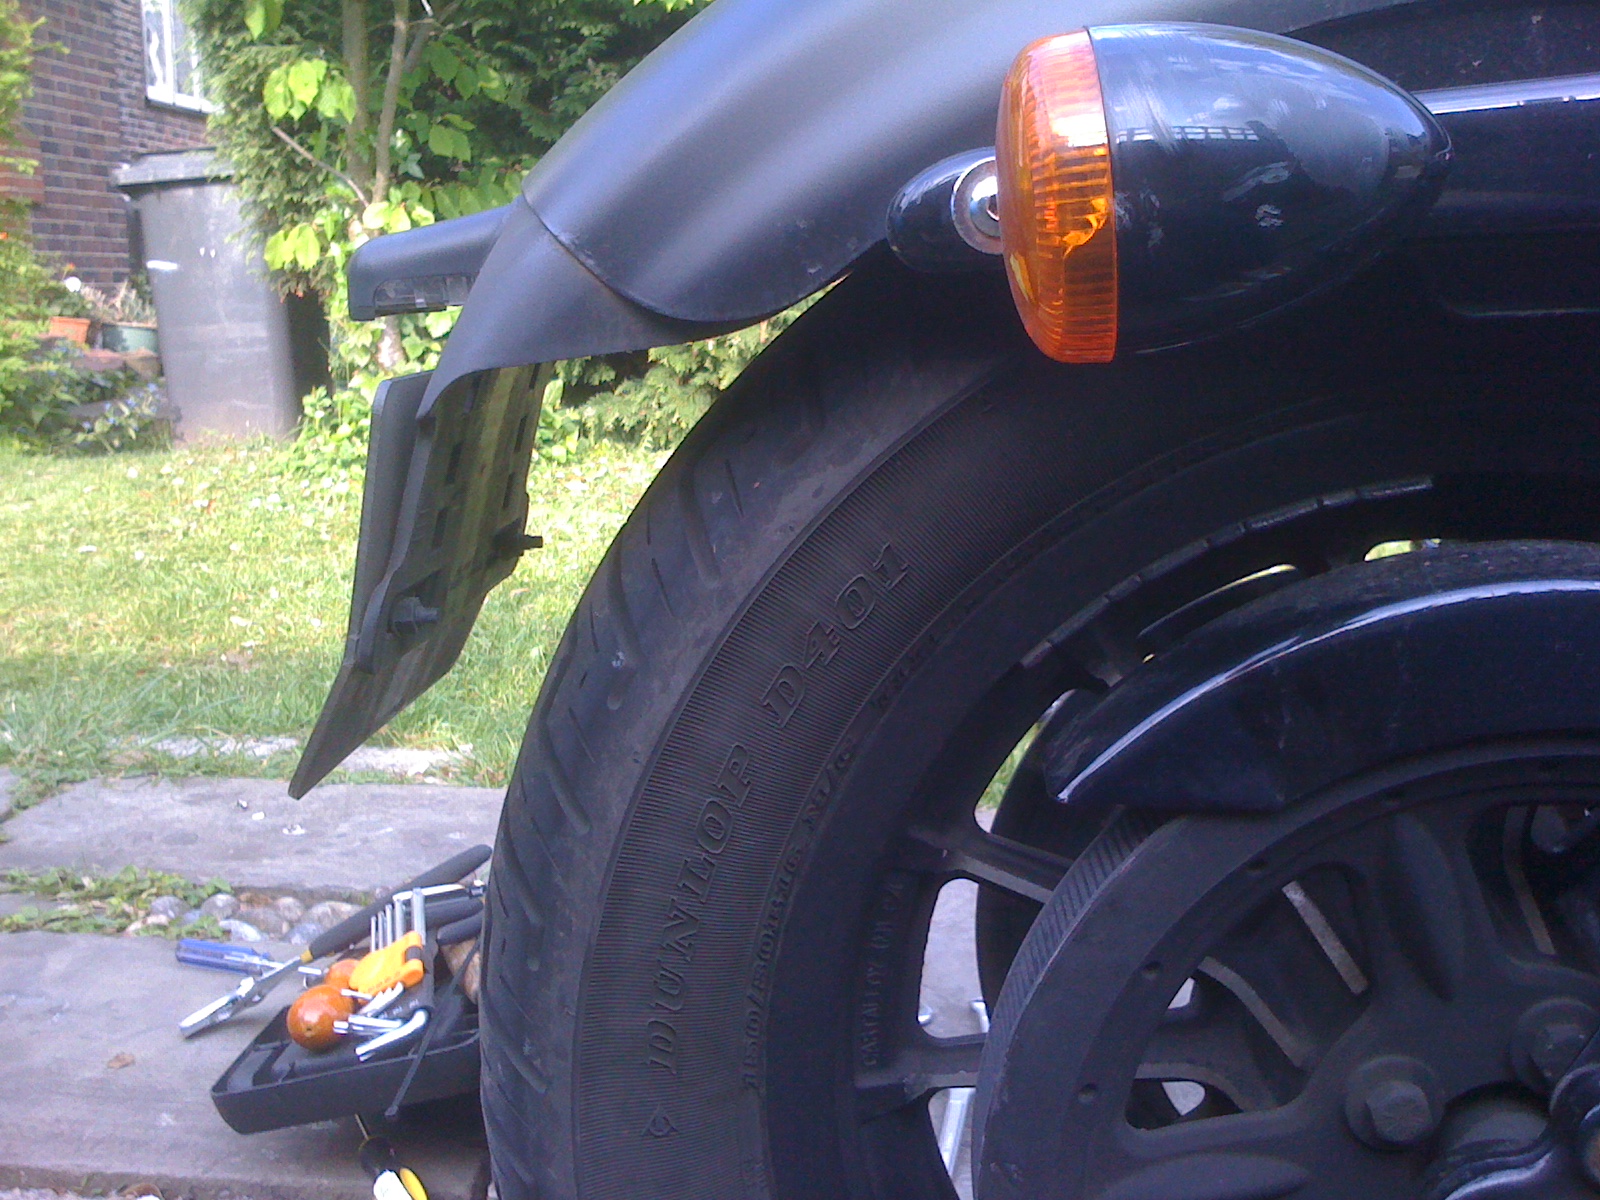
I'd also found a pair of Progressive shocks that looked awesome so I wanted to fit them too. The original shock were 13", I think, and the new ones took it down to 11.5 "


 A subtle difference but well worth it!!


I also replaced the chrome Vance & Hines heat shields with black ones.


Shocks fitted, onto the air cleaner.


Removed the old air cleaner

Chrome bracket fitted. Really happy I didn't get a black one!


Backing plate for the Air Cleaner fitted.

All done!!!


Looks FANTASTIC!!


AND THEN.............


After all the work and sourcing parts and fitting and painting....

One sunny day in a sleepy part of Essex a mum in her SUV backed into my bike!

Doing literally 2mph she just gently pushed it over....

Damage Report: 

Bent Handlebar
Scratched mirror
Scuffed grip
Broken hand lever and master cyclinder
Dented  Pipes
Scuffed forward control
Scuffed footpeg 
Dented RHS rear light
Broken License plate


All pretty cosmetic really, no major damage at all. Totally ridable!!!

HD REPAIR COST:

£2467!! 

POW!!!!!

So....

2 weeks in the shop and she returns as good as new!!

BUT First, the Crashbars are installed!!!! :)))


/////////////////////////////